| Creating your own charcuterie platter requires attention to proper curing technique and patience. Using the Umai Dry charcuterie bags we are able to create the most delicious cotto, prosciutto, salumi and more in our own refrigerators. No special rooms, chambers, or expensive equipment needed! Check out the simple and safe steps to follow below and get started on your own curing adventures. |
Ingredients
- Kosher Salt (3% of the total weight of the meat)
- Prague powder #2 (0.25% of the total weight of the meat)
Equipment
- Vacuum Seal Chamber
- Or
- Vacuum Sealer
- Cooling Rack That fits in Your Refrigerator
- Umai Bags (Charcuterie)
- Vac mouse (if using a vacuum sealer)(included in kit)
- Chef’s Knife
Timing
Active Time: 5 – 10 Minutes
Total Time: 4 – 6 Weeks
Yield
Varries Depending on size and cure time
-
Prepare Meat
Choose a recipe from the pamphlet included with the umai kit. This could be a shorter process like duck prosciutto or a longer term cure such as Pancetta.
When making any charcuterie, sanitation is very important. Always clean all surfaces with food safe sanitizing solutions prior to preparing the steak.
-
First Cure
Mix all the dry seasonings together with the salt and prague powder #2.
Using gloves coat the outside of the meat with the curing mixture. Cover the meat and place it on a rack in a drip pan. Allow it to cure for 2-4 weeks in the refrigerator. Remove the cured meat from the refrigerator and rinse off the curing mixture.
Make sure the cured meat is not dry to the touch. This can happen if it was left uncovered during the curing process. If the meat is damp you can proceed to the next step. If it is dry in any spots just brush it with some water.
-
Place Inside Umai Bag
Choose the correct sized umai bag for the cut of meat you have. You do not want to over stuff the umai bag as it could tear when vacuum sealing.
If there are any exposed bones I like to cover them with a paper towel or cheese cloth. This way they do not puncture the umai bags. This will be east to trim off after the dry aging is finished.
Roll the bag onto itself like a shirt sleeve. Doing this will ensure that the bag will not have any fat or water on the seal. Once the meat has been placed in the bag unroll the bag carefully to keep it dry.
-
Seal Umai Bag & Refrigerate
If you have a vacuum seal chamber the umai bag with the meat can be placed in it directly and sealed. The umai bag will not remove 100% of the air even at a full vacuum.
If you are using a food saver you will need to use a “Vac-Mouse” which is provided with the umai bags and will help get a better seal on the meat. When using, place the vac-mouse directly on the sealing strip of the food saver. Seal the bag twice to ensure you get a proper seal.
Fill out a sticker with the starting weight and the finishing weight. The finished weight should be about 60% of the starting weight of the cure.
Place the cured meat in any refrigerator on a cooling rack to ensure there is airflow.
-
Second Cure
After a few days the umai bag will be stuck to the outside of the meat as it has formed a pellicle. This is a good sign. Allow it to dry until it reaches the desired weight.
Once the meat has been dried it can be removed from the umai bag.
Cut the umai bag and peel it off of the outside of the meat. With the cured meat you do not need to remove the pellicle.
If you notice any off putting smells, green, blue, or black mold. Discard immediately.
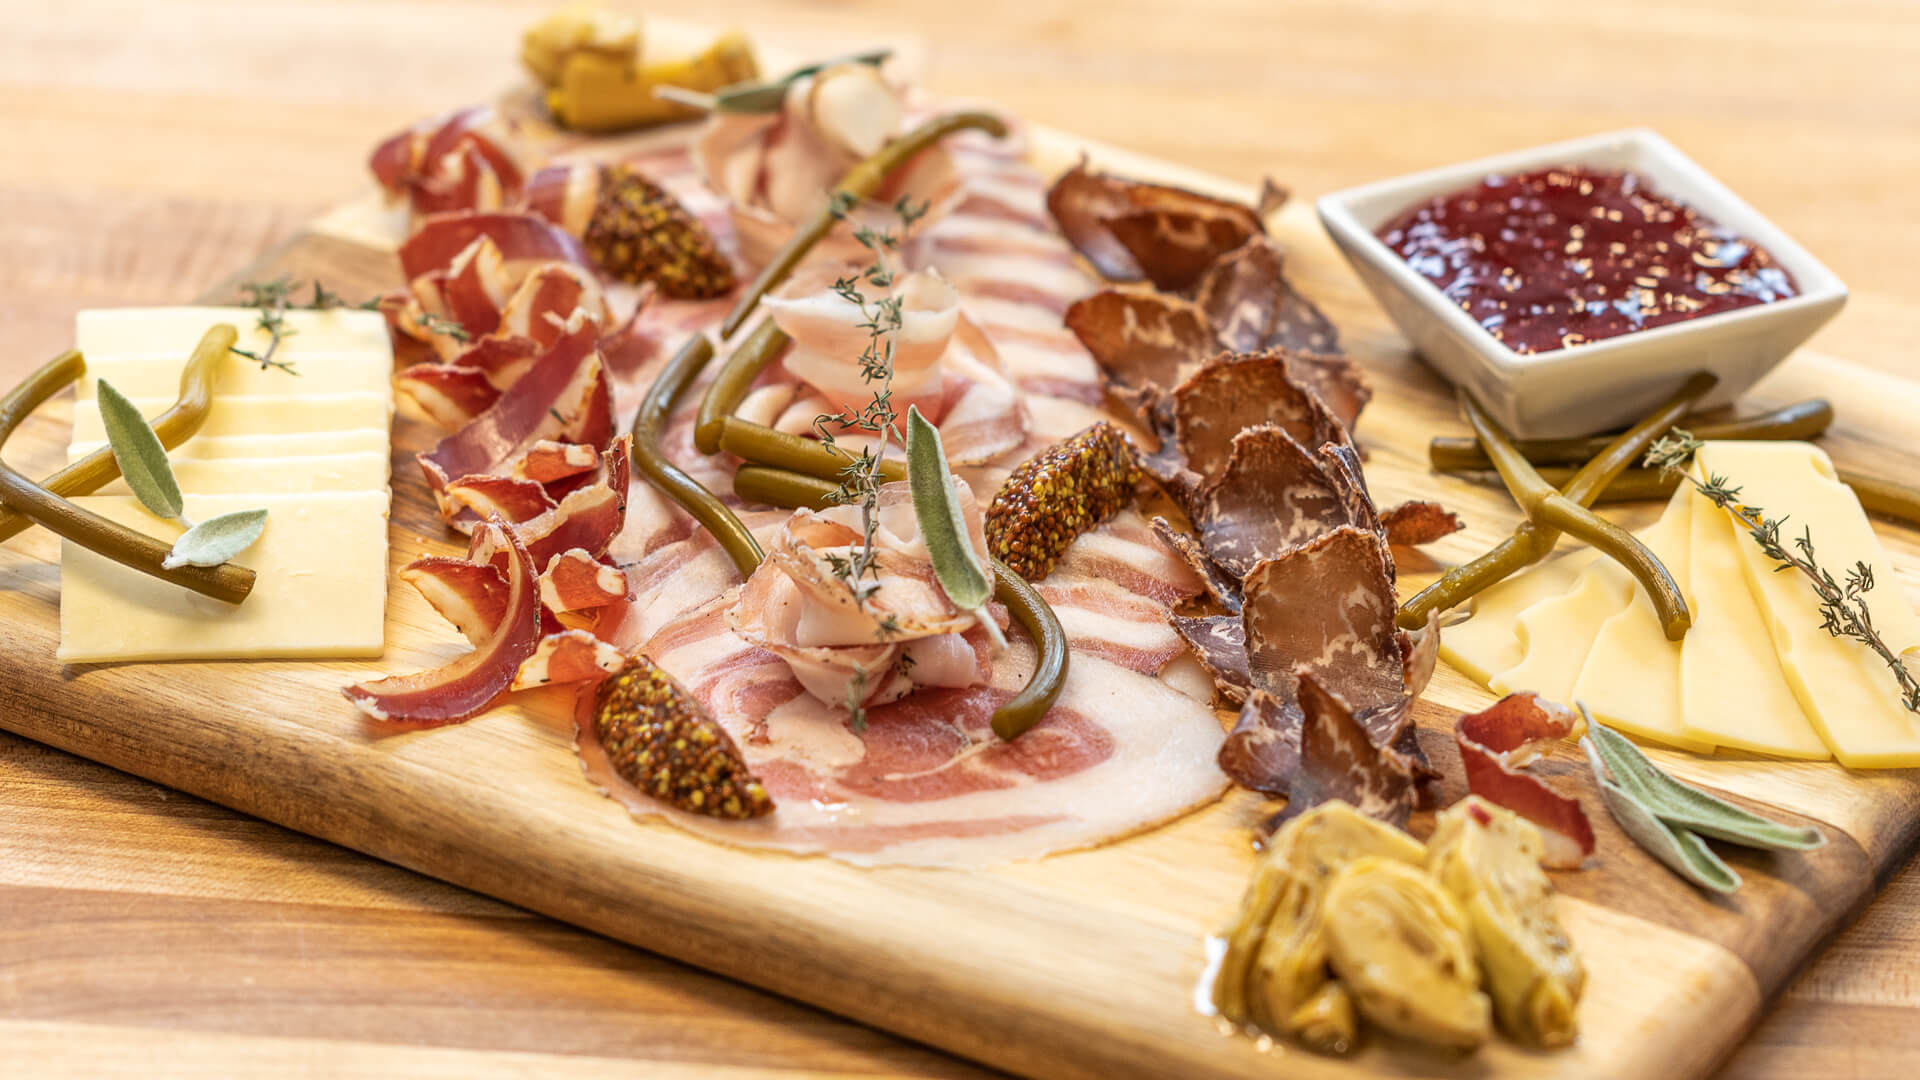
Slice the charcuterie thinly and serve.