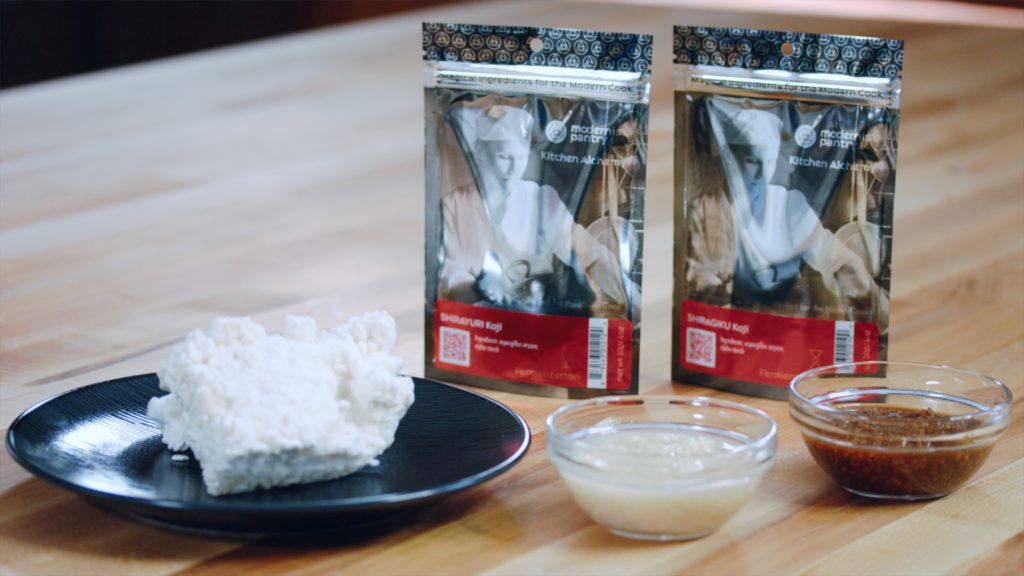
It’s the savor in your miso and the bouquet in your sake, but until recently, you may not have known its name. Aspergillus oryzae, better known by its Japanese name koji, is a microbe that has been prized for thousands of years for its power to ferment. First isolated by the Chinese during the Shang dynasty, koji breaks down cooked grains and beans into stuff that we crave, namely booze and umami. Without it, we would not have mirin or soy sauce. Yet in Western society, koji’s praises remain relatively unsung.
Maybe it’s because koji is a mold and, historically, mold has not been given a lot of respect. Consider penicillin: Sure, it’s useful as an antibiotic, but you don’t often hear anyone wax poetic about its culinary benefits. And yet various strains of penicillin marble Stilton, give a white bloom to a Camembert rind, and are dusted on many an artisanal salami.
For koji, things are about to change. With its nutty, floral, woodsy-sweet fragrance, its creamy, furry looks, and its white truffle–like flavor, this mold’s star is in ascent. What’s more, koji now plays a leading role in a growing number of dishes. It’s not just about soy sauce and miso anymore. Finally. After centuries of patiently laboring behind the scenes, it’s time for koji’s close-up.
Koji belongs to the fungus kingdom, along with mushrooms, truffles, and yeast. Fungi nourish themselves by secreting enzymes that break down their food into simpler sugars (like alcohol) and amino acids (like glutamate). So, like sourdough and yogurt, koji is a living food. Traditionally, the spores of koji are introduced to a grain, usually rice (but sometimes barley) and left to flourish in a warm, humid environment.
Once the rice has developed into a koji-rich culture, it can then be introduced to more grain or legumes to continue its magic. Yes, it ferments soybeans into sauces and miso and breaks down rice into wine, but there are so many more possibilities. Rather than soybeans, how about chickpeas and pistachio nuts? Rather than rice or barley, why not freekeh or quinoa? Rather than rice into sake, why not wheat into whiskey?
To get you started, we have recipes for the two most basic koji marinades. Think of them as koji mother sauces from which you can build. Shio koji is koji fermented with salt (shio). A dash of shio koji elevates a humble stir-fry; when combined with raw vegetables, it yields a bright, fully flavored pickle. It also makes for a killer gravlax and a life-changing marinade for fried chicken. Shoyu koji is koji fermented with soy sauce (shoyu), and it lends its mellow caramel richness to red meats.
For those of you looking for greater koji mastery, we will also teach you how to cultivate your own koji rice. It’s not as daunting as it sounds; it’s all about maintaining an even temperature and working clean. It will take a bit of time but not a lot of work—the whole process takes just over a week, but with very little active time. Just think of the whole world that lies ahead when you become a true master, like Koji-Wan Kenobi. Koji sourdough bread as light as air. Beef “dry-aged” with koji flavor. Koji charcuterie garnished with koji pickles. The possibilities are endless.
Go now, young Padawan … and may the spores be with you.
Ingredients
- 1 kg sushi rice
- 2.5 kg water
- 1 g koji spores

Equipment
- Large bowl
- Strainer
- Bamboo steamer or stainless-steel steamer basket
- Cheesecloth
- Baking sheet
- Fine-mesh duster
- Bread proofer (optional)
- Thermometer
- Shallow baking dish
- Zip-top bag
Timing
Active time: 3 hours
Total time: 48 to 60 hours
Yield
1 kg koji rice
The More You Know…
Koji: it’s not a malt.
You will sometimes see koji referred to as rice malt. This is a misnomer (and likely just a demonstration of the lengths people will go to in order to sidestep the word “mold”). Malt is itself a sprouted grain, while koji is an organism that sprouts on a grain. So, rice malt (or malted rice) is something altogether different.
To grow or not to grow?
Fermenting your own koji is worth it, especially if you foresee a lot of koji use in your future. Cheaper commercial versions often contain fillers like sugar and mirin, and the good stuff can get pretty expensive.
Besides the fact that cultivating your own koji is incredibly satisfying (not unlike brewing your own beer), there are practical benefits. When you grow your own, you are in control. You can experiment with different types of rice (or different grains altogether) and with varying strengths, from mild to strong.
That being said, if you want to use granulated commercial koji starter, just substitute it one-for-one for the homemade dried koji called for in the recipes.
Note: Our methods borrow from the principles set forth by Sandor Katz in his book The Art of Fermentation, and by the guys at Cook’s Science.
As easy as one-two-three.
There are three basic steps for growing your own koji culture: Steam. Inoculate. Incubate.
Steam: Cook the rice that will host your koji spores in a traditional or modern steamer. (Note that some recipes for koji instruct you to parboil the rice, but we found that this turned our koji rice grains into mush.)
Inoculate: Although this sounds like something you’d hear at the doctor’s office, it just means to thoroughly disperse the koji spores among the grains of steamed rice.
Incubate: The final step is to hold your inoculated rice at a consistent temperature and wait for the magic to begin. Koji grows best in a warm, humid environment. We like to hold our koji in a bread proofer at 90°F, but we also offer some other options.
Don’t worry. Be happy.
If you’ve never cultivated koji before, it’s normal to be nervous. After all, you’re not used to growing mold on purpose. You may wonder how to tell if your koji is developing as it should. Perhaps you’re afraid that you might poison someone with it.
Relax. Making koji is safer than many other fermenting, pickling, and curing processes, because you can generally tell if everything is okay based on the color and the smell.
Koji start as a white fuzz and may ripen to a yellowish hue, which means that its spores are starting to flower. Either white or yellow is fine, but if it’s any other color, you should throw it out. As far as smell goes, it should be pleasant, sweet, and mushroomy. If it smells rancid or off in any way, dispose of it.
Cleanliness is essential.
The challenge of any fermentation is to promote the growth of good microbes while at the same time inhibiting the bad ones. The most effective way to do this is to make sure everything is scrupulously clean. So be sure to sterilize your equipment and workspace in addition to frequently washing your hands.
-
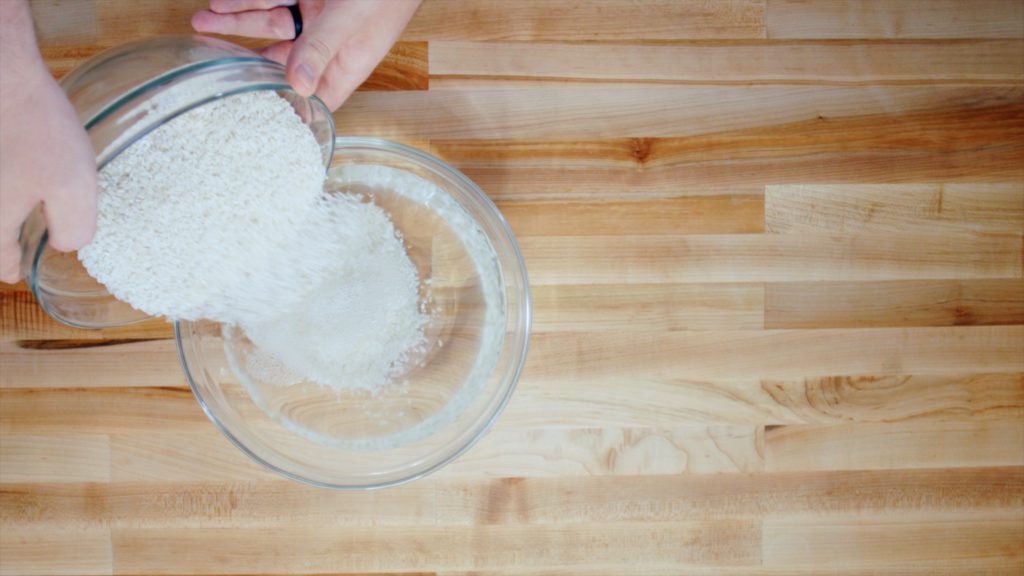
Soak the rice.
1 kg sushi rice
2.5 kg waterCombine the rice and water in a large bowl. Soak the rice overnight covered at room temperature.
-
Drain the rice.
Transfer the rice to a strainer and drain for at least 1 hour. The rice does not need to be completely dry, but most of the liquid must be removed before you proceed to the next step.
-
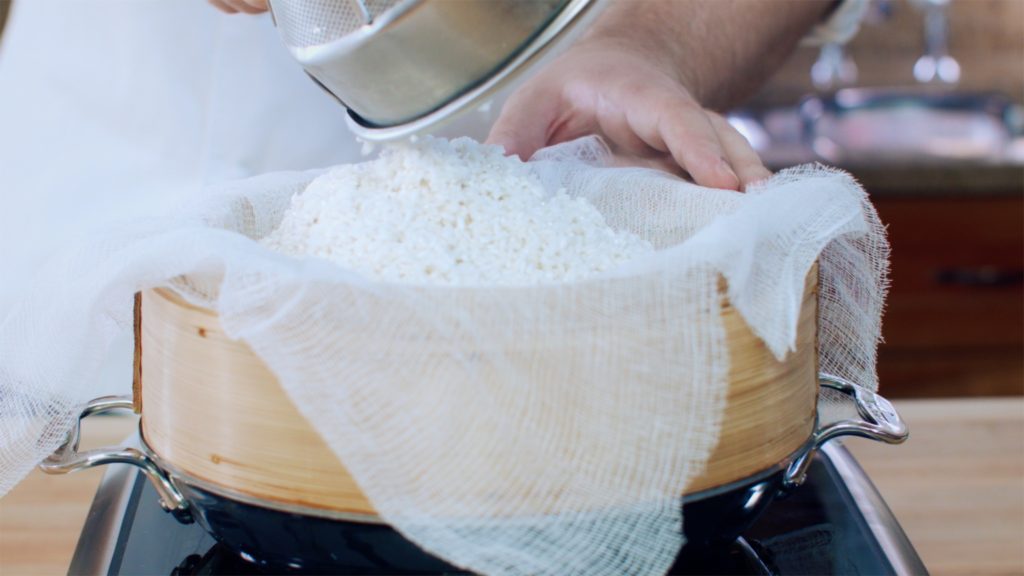
Steam the rice.
Line a steamer with cheesecloth and steam the rice until it is cooked through, about 1 hour. The rice should be translucent and firm. If you can split the grains with your fingernails, it is done.
Do not cook the rice directly in boiling water, as this breaks down the rice, and your final product will be more like a paste.
-
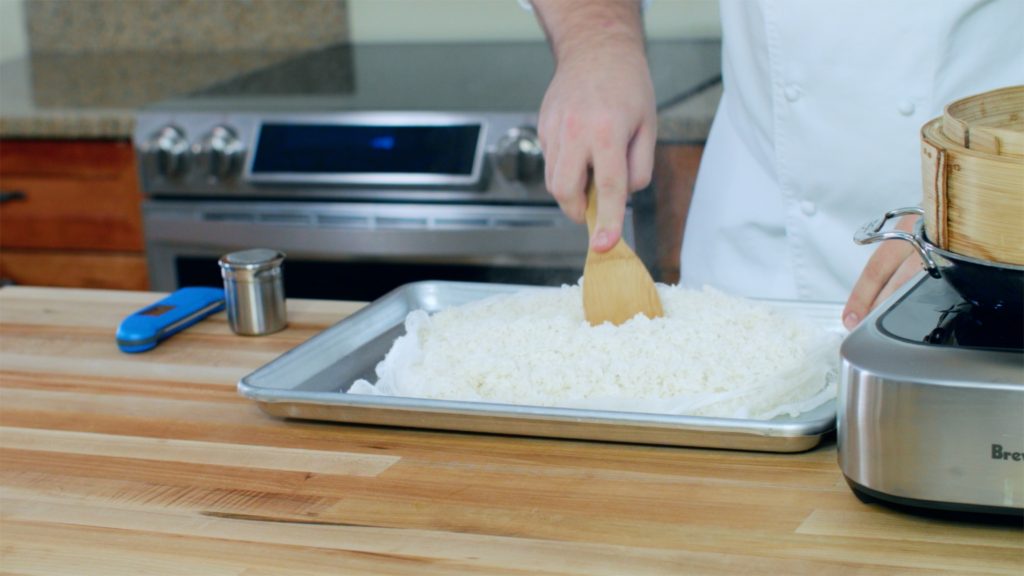
Cool the rice.
Spread out the rice on a baking sheet and allow it to cool to below 104°F (40°C). The temperature can be taken by inserting a thermometer probe into the middle of the rice bed. The rice should be just slightly warm to the touch.
-
Inoculate the rice with the koji spores.
1 g koji spores
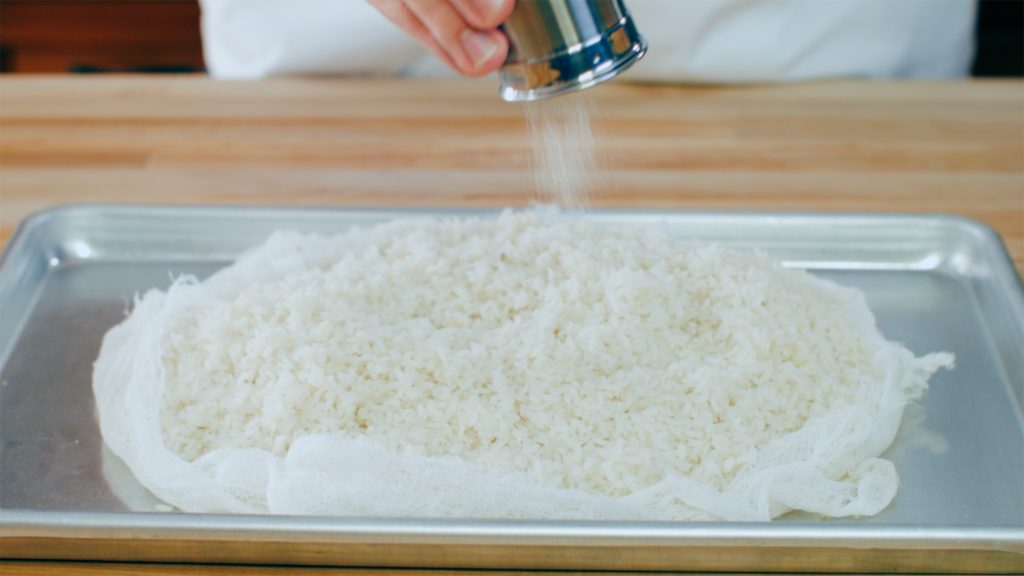
Koji spores are very fine and need to be distributed evenly over the top of the rice. We like to use a fine-mesh duster, like the ones used for sprinkling powdered sugar.
Disperse the spores as close to the surface of the rice as possible to keep the spores from becoming airborne. Sprinkle them as evenly as possible over the rice.
-
Massage.
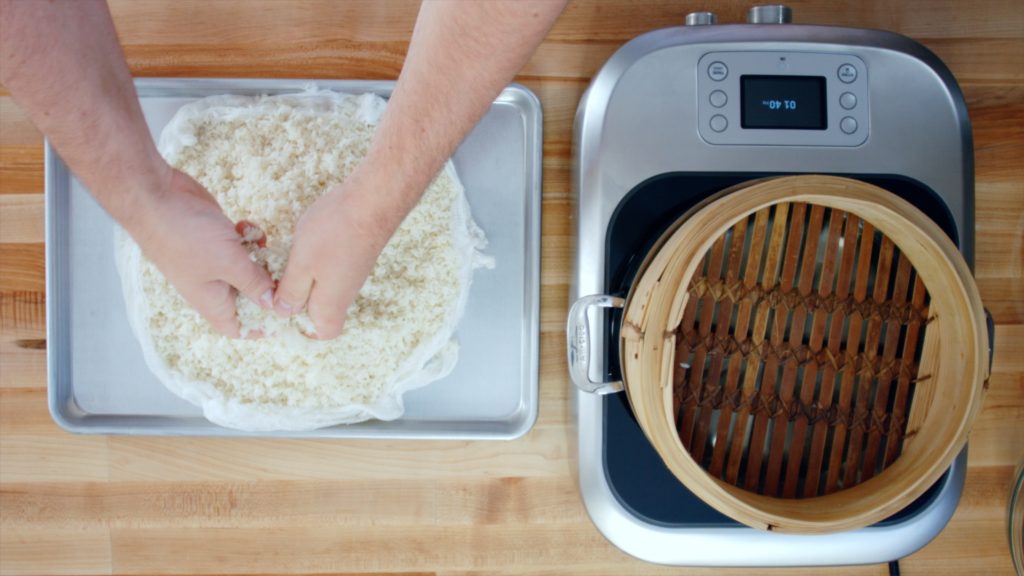
Work large handfuls of rice together with your hands. It’s okay to be somewhat rough with the rice—creating scratches and cracks in the grains gives the spores more places to grow. Try to work quickly to avoid cooling the rice too much.
-
Incubate.
Wrap the rice in a damp piece of cheesecloth in the shape of a ball. Place the wrapped rice in a bowl. We like to put the bowl in a programmable bread proofer set to 90°F (32°C), but other options like placing it on a heating pad or in a food dehydrator will work.
As the mold grows, it will generate its own heat, and you want to be sure not to let the rice overheat. Check the internal temperature periodically, and try to keep it under 104°F (40°C). If it reaches 108°F (42°C), unwrap the rice and mix it around a bit until it’s back down to 90°F (32°C), then wrap it up again before putting it back. If you’re using a proofer, periodically check the water level, as the spores will grow best with some humidity.
After 24 hours, the rice should be in the 100°F (38°C) range even outside the proofer. If it isn’t, then something went wrong and you should discard the rice and start over. Otherwise, return it to the proofer for another 12 hours, checking the temperature periodically to make sure it does not go too high.
Unwrap the rice and check to see whether it has started to form a white mold. If it has turned yellow, stop the fermentation immediately by cooling the rice down to room temperature. The yellowing of the mold means the spores are about to flower. (Flowering will not ruin your koji, but it will change the flavor.) If you see any color besides white or yellow, discard the rice and start over.
Transfer the rice to a shallow baking dish that will fit inside the proofer. Gently mix the rice so that it stays in large chunks and the mold is evenly distributed from top to bottom. Cover the dish with the damp cheesecloth. Lower the temperature in the proofer to 84°F and periodically spritz the cheesecloth with water to maintain high humidity.
Continue to ferment for 48 and 60 hours.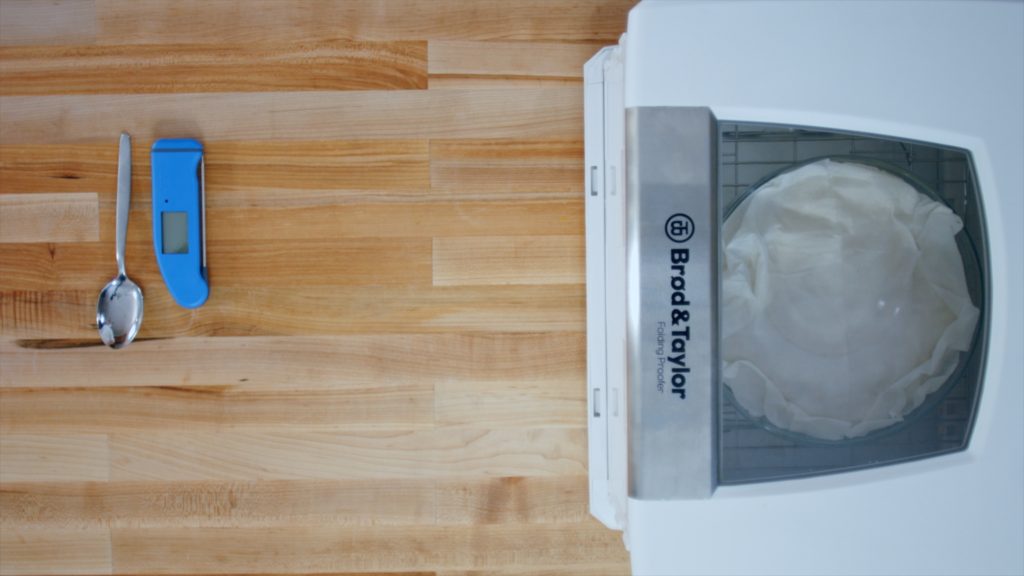
-
Store.
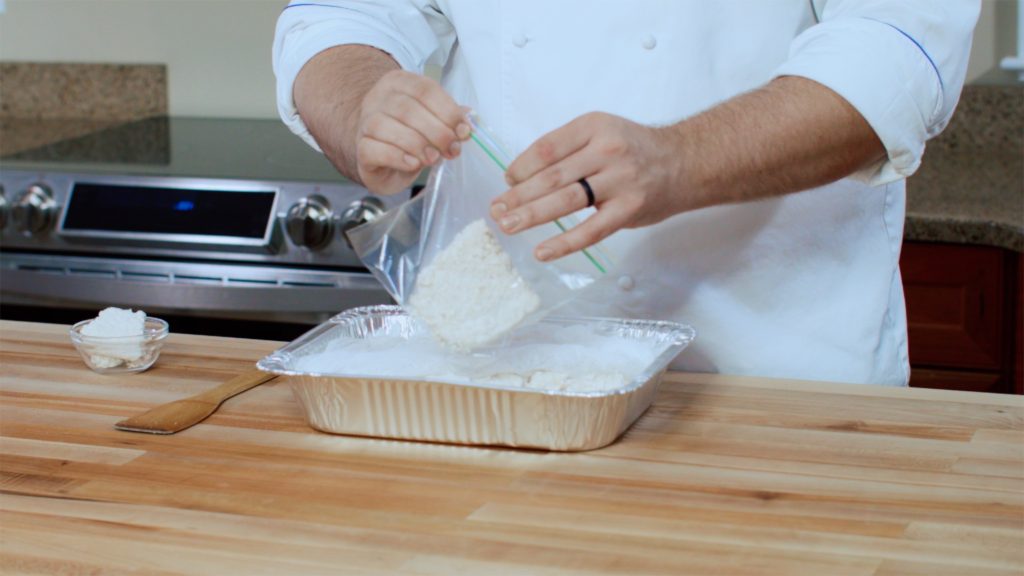
Remove the koji rice from the proofer. Break it into manageable chunks, put it in a zip-top bag, and refrigerate it for up to 7 days. Or dehydrate (either in a dehydrator or in the oven at minimum temperature) until no moisture remains. The latter option allows you to store it for an extended period at room temperature.
Ingredients
- 200 g dried koji rice
- 75 g kosher salt
- 300 g water (divided)

Timing
Active time: 5 minutes
Total time: 8 to 10 days
Yield
575 g shio koji
Shio Koji
-
Mix.
200 g dried koji rice
75 g kosher salt
275 g waterIn a large bowl, combine the koji rice, salt, and 275 g of the water. Mix well.
Let it sit covered at room temperature for 24 hours.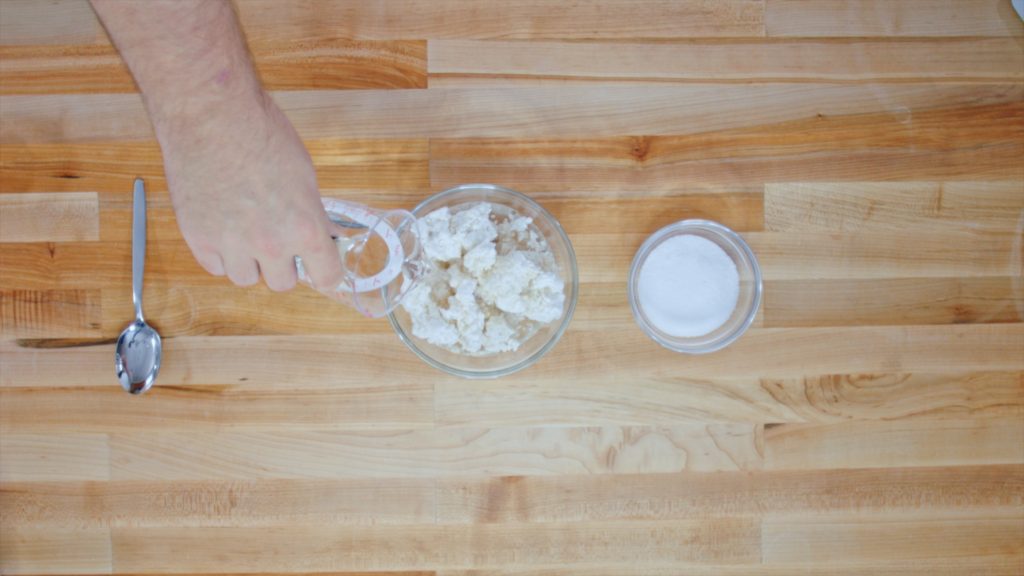
-
Ferment.
25 g water
Stir in the remaining 25 g water.
Let it sit covered at room temperature for 7 days, stirring vigorously once each day. The shio koji should be slightly thick by the seventh day; if it isn’t, let it sit for another day or two.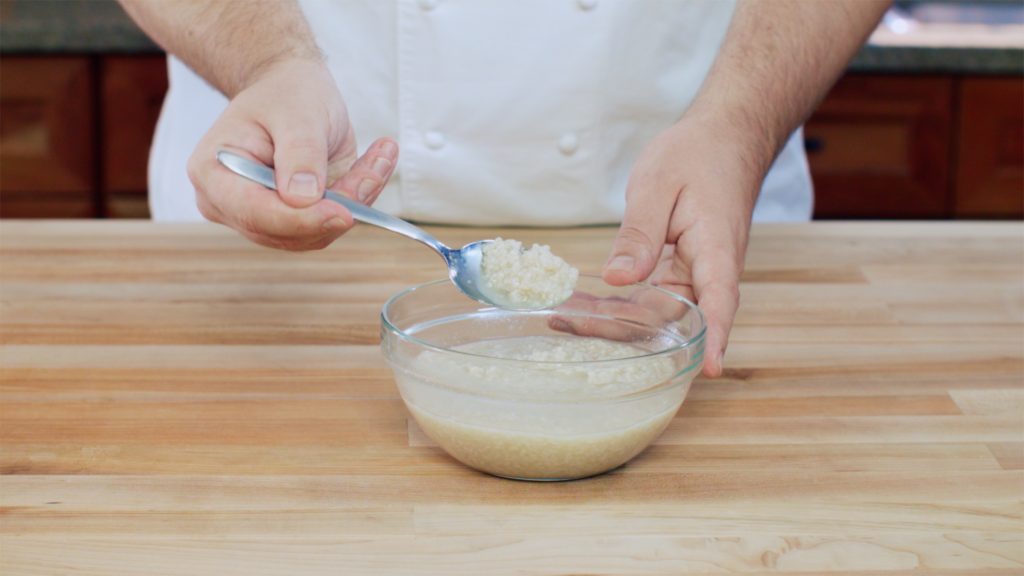
-
Store.
Store the shio koji in an airtight container in the refrigerator for up to 6 months.
Ingredients
- 200 g dried koji rice
- 350 g soy sauce (divided)

Timing
Active time: 5 minutes
Total time: 8 to 10 days
Yield
550 g shoyu koji
Shoyu Koji
-
Mix.
200 g dried koji rice
300 g soy sauceIn a large bowl, combine the dried koji rice and 300 g of the soy sauce. Mix well.
Let it sit covered at room temperature for 24 hours.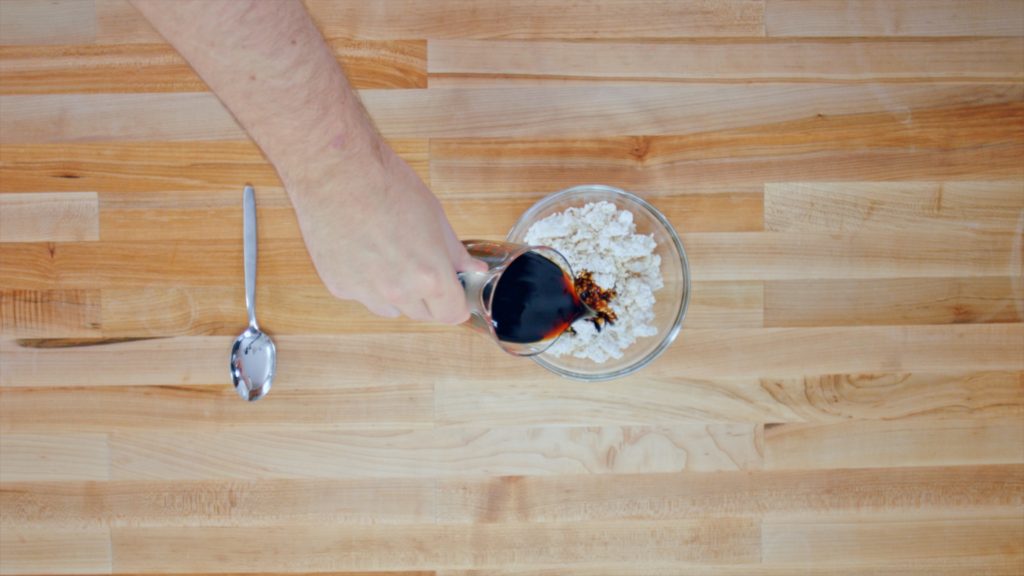
-
Ferment.
50 g soy sauce
Stir in the remaining 50 g of soy sauce.
Let it sit covered at room temperature for 7 days, stirring vigorously once each day. The shoyu koji should be slightly thick by the seventh day; if it isn’t, let it sit for another day or two.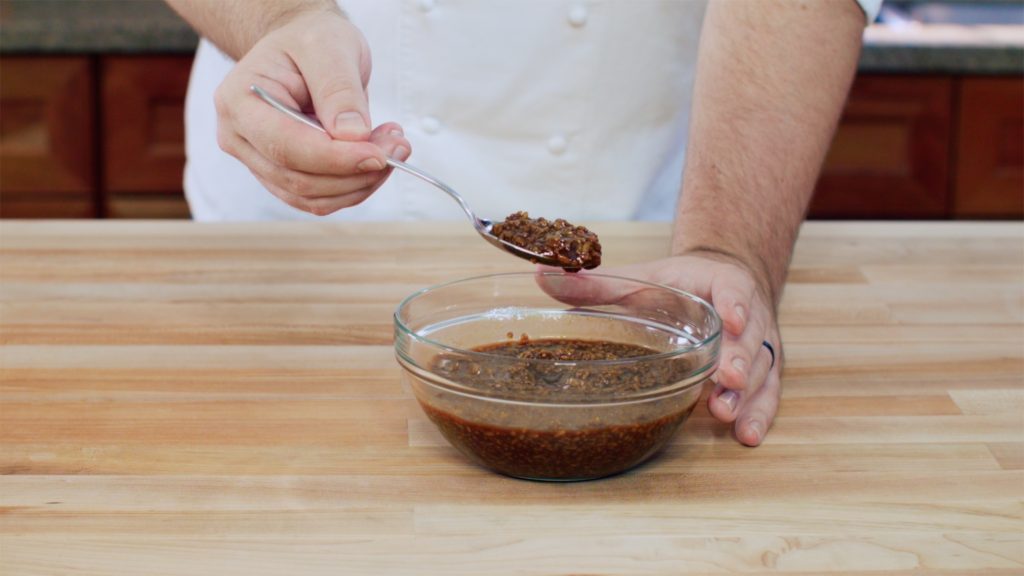
-
Store.
Store the shoyu koji in an airtight container in the refrigerator for up to 6 months.


 Based on 2 Review(s)

22 Comments.
Thank you for the helpful article. You allude to alternates options for incubation other than the bread proofer but I did not notice any listed. What other devices/options (non-DIY options) might work? Also, does the Brod & Taylor work well (I found some mixed reviews regarding temperature control precision which seems key here) or are there other affordable proofers you would suggest in a home setting? I would be hoping to use it for more than incubating koji rice or koji in liquids but also some of the meat aging or charcuterie methods, so I am hoping for a mechanism that would work well for across each of these uses. Thank you for any guidance you can provide!
The options include those you might consider for proofing bread without the benefit of a dedicated proofer (e.g. On top of a warm appliance like a fridge, in a gas oven with just the pilot on, in a microwave with a few cups of heated water, in an insulated cooler with a few cups of hot water). Of course, many of these options are less convenient than they are with bread since the proofing time for bread is considerably shorter than the incubation period for the koji. We have had good results with the Brod & Taylor. But we have not independently monitored the temperature. So if there have been fluctuations it has not affected the final result. But the next time we make a batch we will take the time to throw a temp probe into the proofer to see how much it fluctuates. With regard to long cures where the maintenance of not only temp but humidity is important, we’re not sure if the Brod & Taylor is the best bet. The water tray that comes with it is relatively small and would likely need to be filled pretty frequently to generate enough humidity to keep the meat from drying out too quickly. If you were to build something, you might be able to rig up an insulated cooler with a water-resistant heat mat like the ones used to germinate seeds and a pan of water to generate humidity for not too much money.
I have used my instant pot and use the jiu niang setting to incubate. WORKED GREAT,
You used the instant pot to incubate the koji? Which setting did you use?
We did test the Koji in a IP but it wasn’t able to form the correct mold. The instant pot retains too much moisture to properly incubate the mold. We tried the yogurt setting on low which the manual says can work for Jiu Niang (a fermented sticky rice dessert), but we did not find that this worked for Koji.
I too use an instant pot with good results for tempeh and natto too. Yoghurt low setting ..no added water and see through glass lid. Its worth giving it a go:)). Only small amounts though.
Your Shio Koji recipe states add the remaining 25g of water, but the first step has you add all 275g.
Yup, total amount is 300g of water.
Hello. And Bye.
You say shio koji makes for a great gravlax. So you use it as the cure?
Yes, you use it as the cure.
hello everyone thanks for approve
hi 🙂 bross 🙂
i am from Italy hello. Can you help me translate? /rardor
hi guys :). I am looking for help for me and my girl. i am from France
For customer service questions please email us service@modernistpantry.com
Thank you very much for the invitation :). Best wishes.
PS: How are you? I am from France 🙂
[…] 100g (½ cups) Koji Rice […]
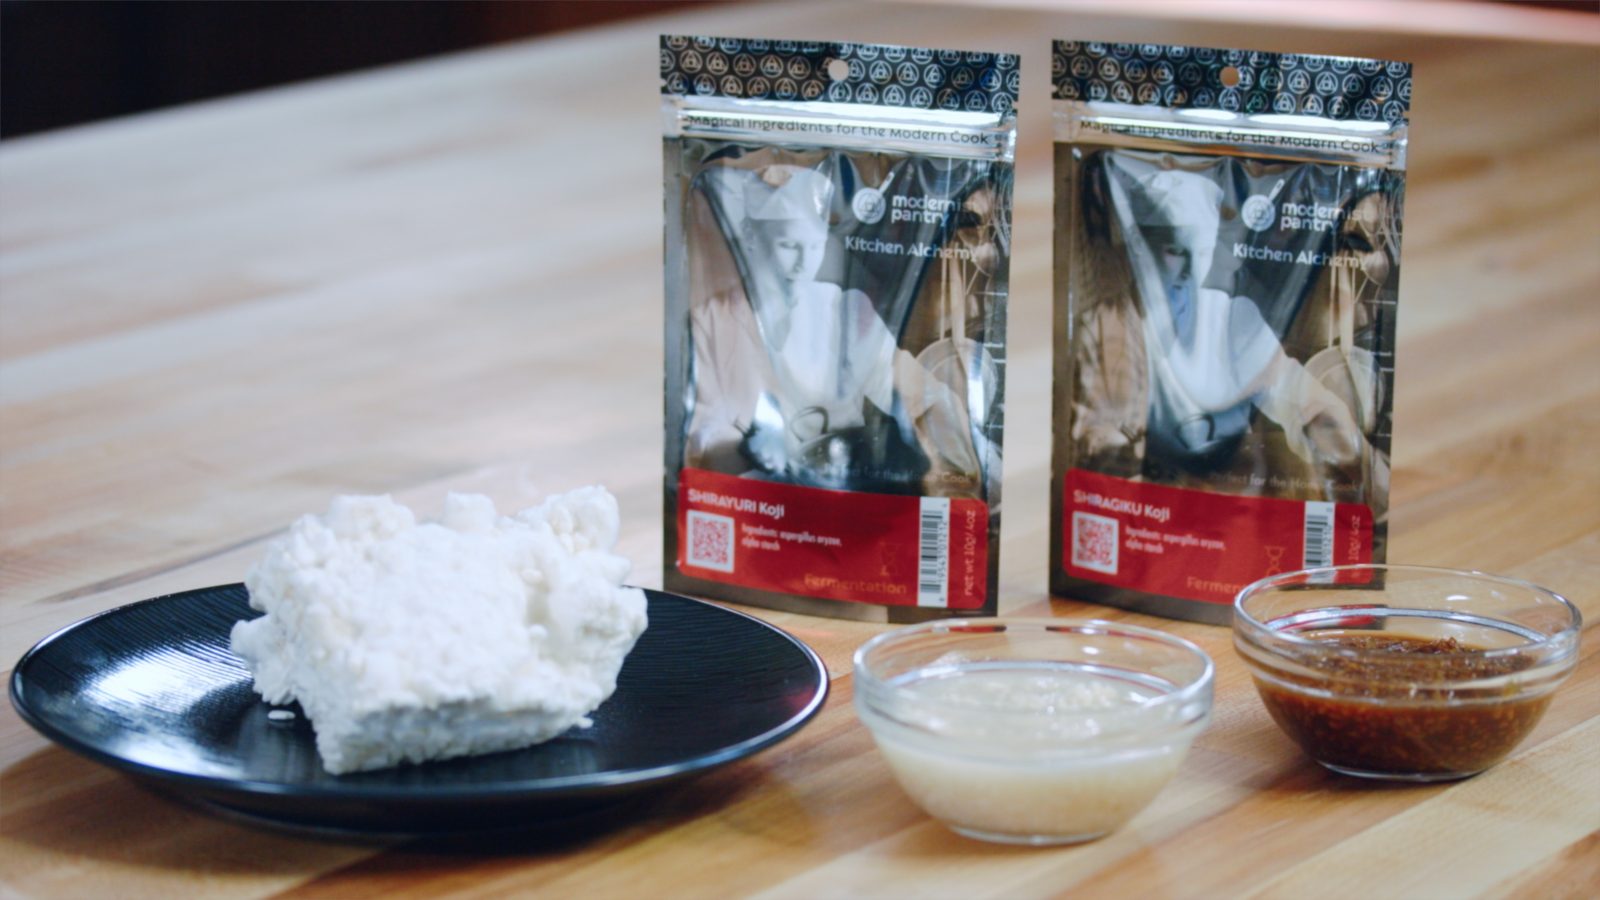
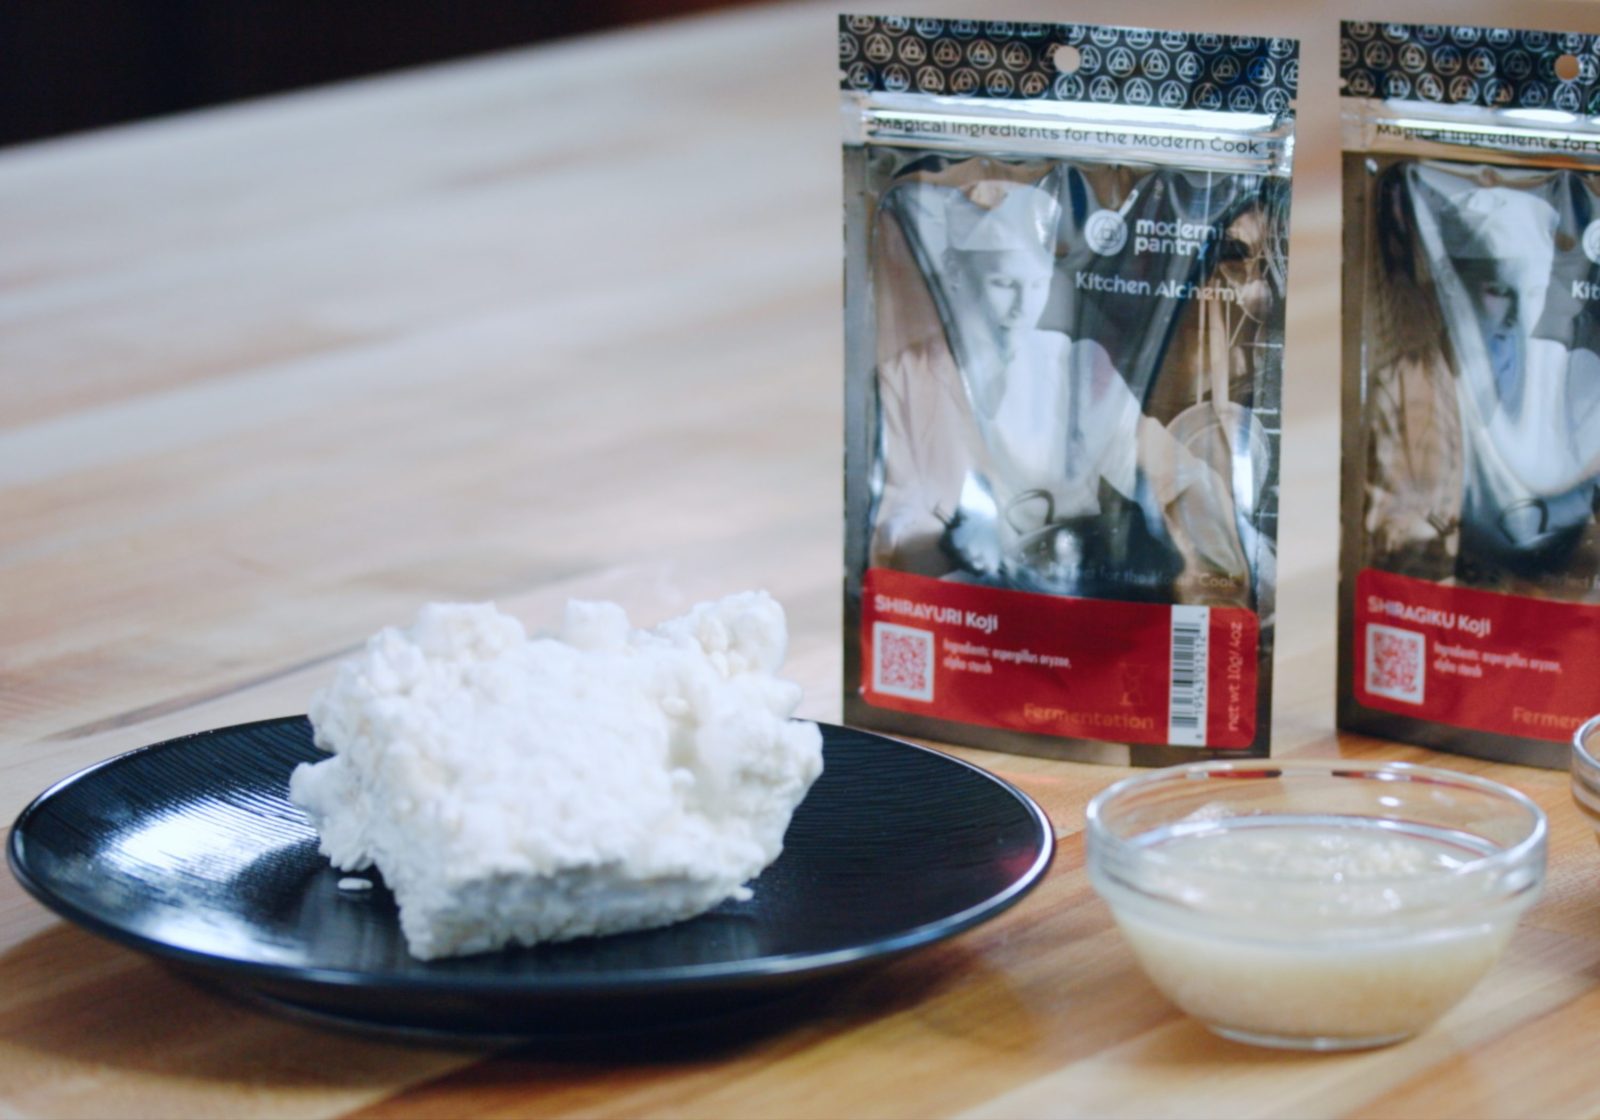
Hi, I want to make koji with spent barley grains from the beer brewing process. Which koji kin should I use, shirayuri or shiragiku? Thanks for the info!
Try shiragiku since the darker koji would pair nicely with the barley.
Perfect, thank you! There is so much waste in the craft brewing sector, if companies (and home brewers) were willing to step forward and make a food product like koji from this otherwise wasted source, the world would be a better place. I will try this recipe and publish my findings in Zymurgy magazine.
Hello. And Bye.